

Key Takeaway: Retail standardization means keeping your store design, daily operations, and customer experience consistent across all locations. This guide explains what standardization is, how to put it in place, and the challenges retail chains often face as they grow.
When a brand expands from one store to many, keeping things consistent becomes harder. Customers expect the same shopping experience whether they walk into your store in New York, Los Angeles, or anywhere else. That’s why having a clear and unified way of running your stores is so important.
This guide walks you through the key ideas, best practices, and practical steps for building a strong standardization system for multi-location retail stores.
What Is Retail Store Standardization?
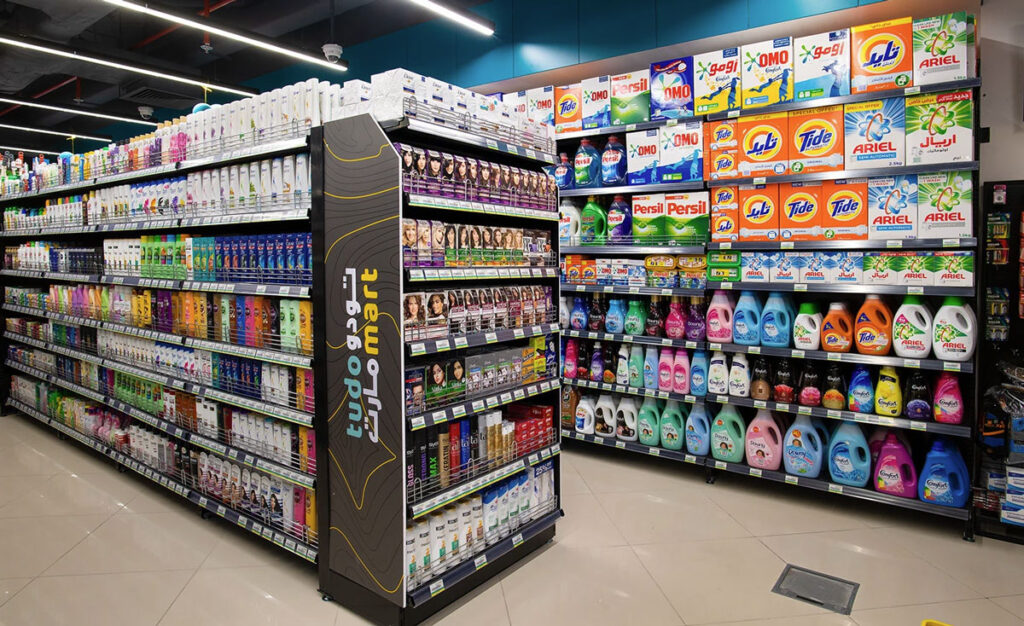
Retail store standardization is the process of creating clear and consistent rules for how every store should look and operate. It covers:
Visual Identity: Store design, colors, signage, and overall branding
Display Systems: Fixture types, product placement, and merchandising rules
Customer Experience: Store layout, service steps, and the shopping environment
Operational Procedures: Training, inventory routines, and daily tasks
Standardization ensures that no matter where customers shop, the brand feels familiar and dependable.
Why Standardization Matters
Research in retail shows that standardization brings several key benefits:
Brand Recognition: Consistency helps customers instantly recognize and trust your brand
Operational Efficiency: Clear rules reduce training time and cut down on mistakes
Cost Management: Buying in bulk and repeating proven processes lowers costs
Quality Control: Standards make it easier to maintain consistent quality
Scalability: Standard systems allow faster and more predictable expansion
Core Components of Store Standardization
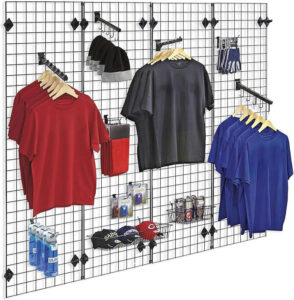
1. Display Fixture Standardization
Fixtures are a major part of visual consistency across stores. Common standardized fixtures include:
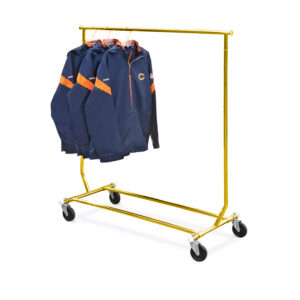
Single Bar Racks
Used for everyday garment display. Keep the height, width, finish, and weight capacity the same across all stores for a unified look.
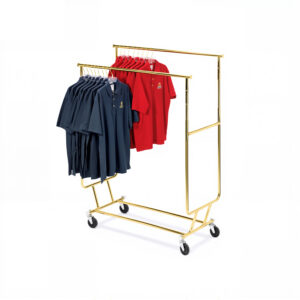
Double Bar Racks
Great for high-density displays. Standardize bar spacing, overall rack size, and whether the rack should be mobile or fixed.
Four-Way Racks
Ideal for showing featured or seasonal outfits. Make sure arm lengths, base type, and rotation mechanisms match across locations.

Rotating or Spiral Racks
These save floor space and show many items at once. Standardize the number of display arms, the footprint, and stability.
Rotating or Spiral Racks
These save floor space and show many items at once. Standardize the number of display arms, the footprint, and stability.
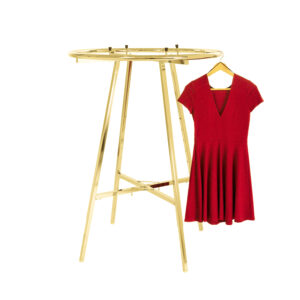
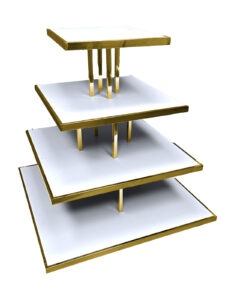
Display Tables
Used for folded clothing or seasonal items. Standardize surface material, table height, and storage options.
2. Lighting Standards
Lighting shapes how products look and how customers feel in your store.
Ambient Lighting
General lighting should feel even and comfortable.
Target: 300–500 lux
Color temperature: 3000K–4000K
CRI: 80+ for accurate colors
Accent Lighting
Used to highlight key products.
Target: 1000–1500 lux
Beam angle: 15–30 degrees
Placement: 30–45 degrees from vertical to reduce glare
Task Lighting
Special lighting for functional areas.
Fitting rooms: 500–750 lux
Checkout: 500–750 lux
Storage: 200–300 lux
3. Color and Material Specifications
A consistent color and material palette helps keep your brand identity strong.
Primary Colors: Your main brand colors (about 60% of space)
Secondary Colors: Supporting colors for zones (30%)
Accent Colors: Highlights for promotions (10%)
Material rules should define:
Finish types
Durability needs
Cleaning and maintenance steps
Repair and replacement processes
Implementation Framework
Phase 1: Assessment and Documentation
Start by understanding what your stores look like today.
Audit all locations
Identify inconsistencies
Collect feedback from managers, staff, and customers
Document baseline performance for comparison
Phase 2: Standard Development
Create clear documents that explain your standards.
Design Manual: Visual guidelines for layout and appearance
Fixture Specs: Detailed requirements for all fixtures
Implementation Guide: Step-by-step rollout instructions
Maintenance Procedures: How to maintain and update standards
Phase 3: Pilot Implementation
Test your standards before rolling them out everywhere.
Choose 1–3 stores for testing
Apply all standards
Track performance
Adjust based on feedback
Phase 4: Full Rollout
Deploy your standards across the entire chain.
Create a rollout schedule
Coordinate with suppliers and contractors
Train store teams
Set checkpoints for quality control
Monitor progress and fix issues quickly
Common Challenges and Solutions
Challenge 1: Consistency vs. Local Needs
Different stores may have different layouts or customer behaviors.
Solution: Define what’s non-negotiable (logos, core colors, main fixtures) and allow controlled flexibility where needed.
Challenge 2: Managing Costs
Standardization can seem expensive.
Solution: Use a phased rollout:
Phase 1: Customer-facing elements
Phase 2: Main selling areas
Phase 3: Secondary and back-of-house areas
Challenge 3: Maintaining Standards Over Time
Stores can drift from standards.
Solution:
Scheduled audits
Regular maintenance
Ongoing staff training
Centralized approval for changes
Challenge 4: Supplier Coordination
Multiple vendors can create mismatched results.
Solution:
Build preferred vendor lists
Use detailed product specifications
Add quality checks
Centralize purchasing

Measuring Standardization Success
Brand Consistency
Audit scores and customer recognition. Reviewed quarterly.
Operational Efficiency
Setup time, training time, and error rates. Reviewed monthly.
Financial Performance
Operating costs, sales per square foot, and ROI. Reviewed monthly or quarterly.
Customer Experience
Satisfaction scores, dwell time, and conversion rates. Reviewed monthly.
Compliance
How closely stores follow standards. Reviewed quarterly.
Industry Best Practices
Documentation Excellence
Keep manuals clear and visual
Use diagrams and photos
Maintain digital versions
Add troubleshooting sections
Communication Strategy
Explain the “why,” not just the “what”
Get store teams involved
Share regular updates
Celebrate wins and improvements
Technology Utilization
Use 3D models for store planning
Use project management tools for tracking
Use mobile apps for audits
Use digital signage for easy updates
The Future of Retail Standardization
Trends shaping the next generation of retail standards include:
Flexible standardization with controlled customization
Technology integration across displays and store systems
Sustainability-focused materials and lighting
Experience-driven design that goes beyond simple product display
Conclusion
Retail standardization is essential for any brand running multiple stores. It takes planning, clear documentation, strong execution, and long-term commitment.
The key is finding the right balance between consistency and flexibility—while keeping customer experience at the center. As retail evolves, your standards must evolve too.
Brands that master this balance will grow faster, operate more smoothly, and deliver a better experience across all locations.
About This Guide
This guide is based on real-world retail experience and industry best practices. If your brand is planning to build or improve its standardization system, professional support can help you avoid mistakes and speed up the process.
BDFDisplay provides:
Free design consultation
3D store design previews
Full fixture and material supply
Technical support during rollout
Visit bdfdisplay.com or contact the design team on WhatsApp.